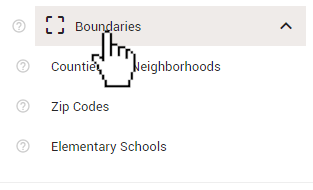
The 'Boundaries' section allows you to divide up your map into several different pre-defined regions.
To apply these boundaries, click the 'Boundaries' heading on the control panel to expand the section. 'Boundaries' is the last heading of the 'Layers' section on the control panel.

Click one of the boundaries to activate it on the map. Only one boundary may be active at a time. The currently active boundary will be highlighted in green on the control panel.
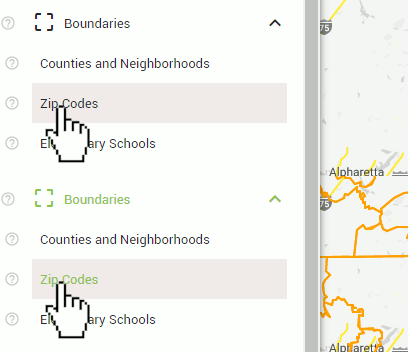
The boundaries change dynamically depending on your map's current zoom scale. This means your boundaries will change when you zoom in or out. You can verify your current map scale by checking the value in the bottom-right corner of the map.
Click the map scale to toggle between Imperial and Metric measurements.

Below are the boundaries that will be shown at the corresponding zoom level.
While any boundary is active, hover your mouse inside an orange boundary. This will cause the area within that boundary to be shaded orange as well.
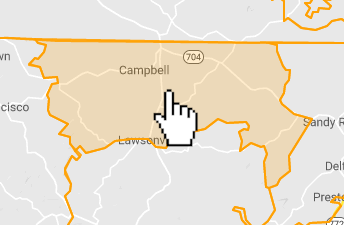
Click anywhere inside the shaded area. This will cause an info-box to appear. This info-box contains the name or number of the boundary, the type of boundary, and the number of households and mailing addresses within that boundary. Clicking the 'X' in the bottom-right corner or clicking in another shaded boundary will close the current info-box.
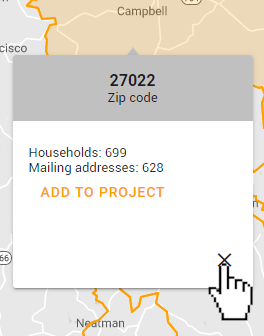
After opening an info-box as described in the previous section, click 'ADD TO PROJECT' to add the region within that boundary to a project.
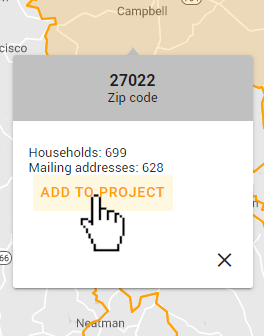
Clicking 'ADD TO PROJECT' will cause the 'Projects' section of the control panel to expand. Use the tools in the 'Projects' section to modify, save, or download the current project.
To learn more about projects, please read the following articles: